Tags are one of the three ways in which customers can find their photos in a group or public gallery. They are an intuitive way to group and organize photos making them easily searchable by the customer. Customers will be able to narrow their search based on grouping criteria set by the photographer.
Whether you wish to organize your photos by team name, jersey number, picture day date, etc. using tags allows you to add structure to your photo collection and helps your customers to quickly filter their searches and get them on their way to purchasing photos.
To learn more about the three gallery search options and how to change them, visit this section.
Creating Tags
You can manage a gallery’s tags in multiple ways from within your job’s Photos page.
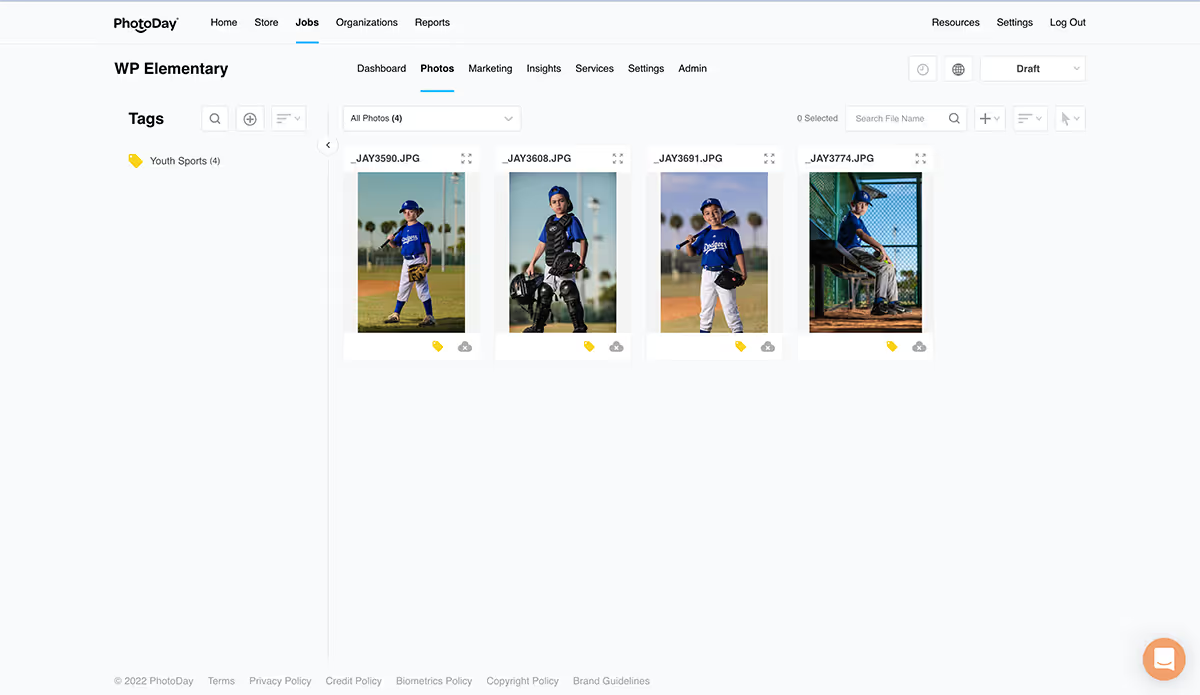
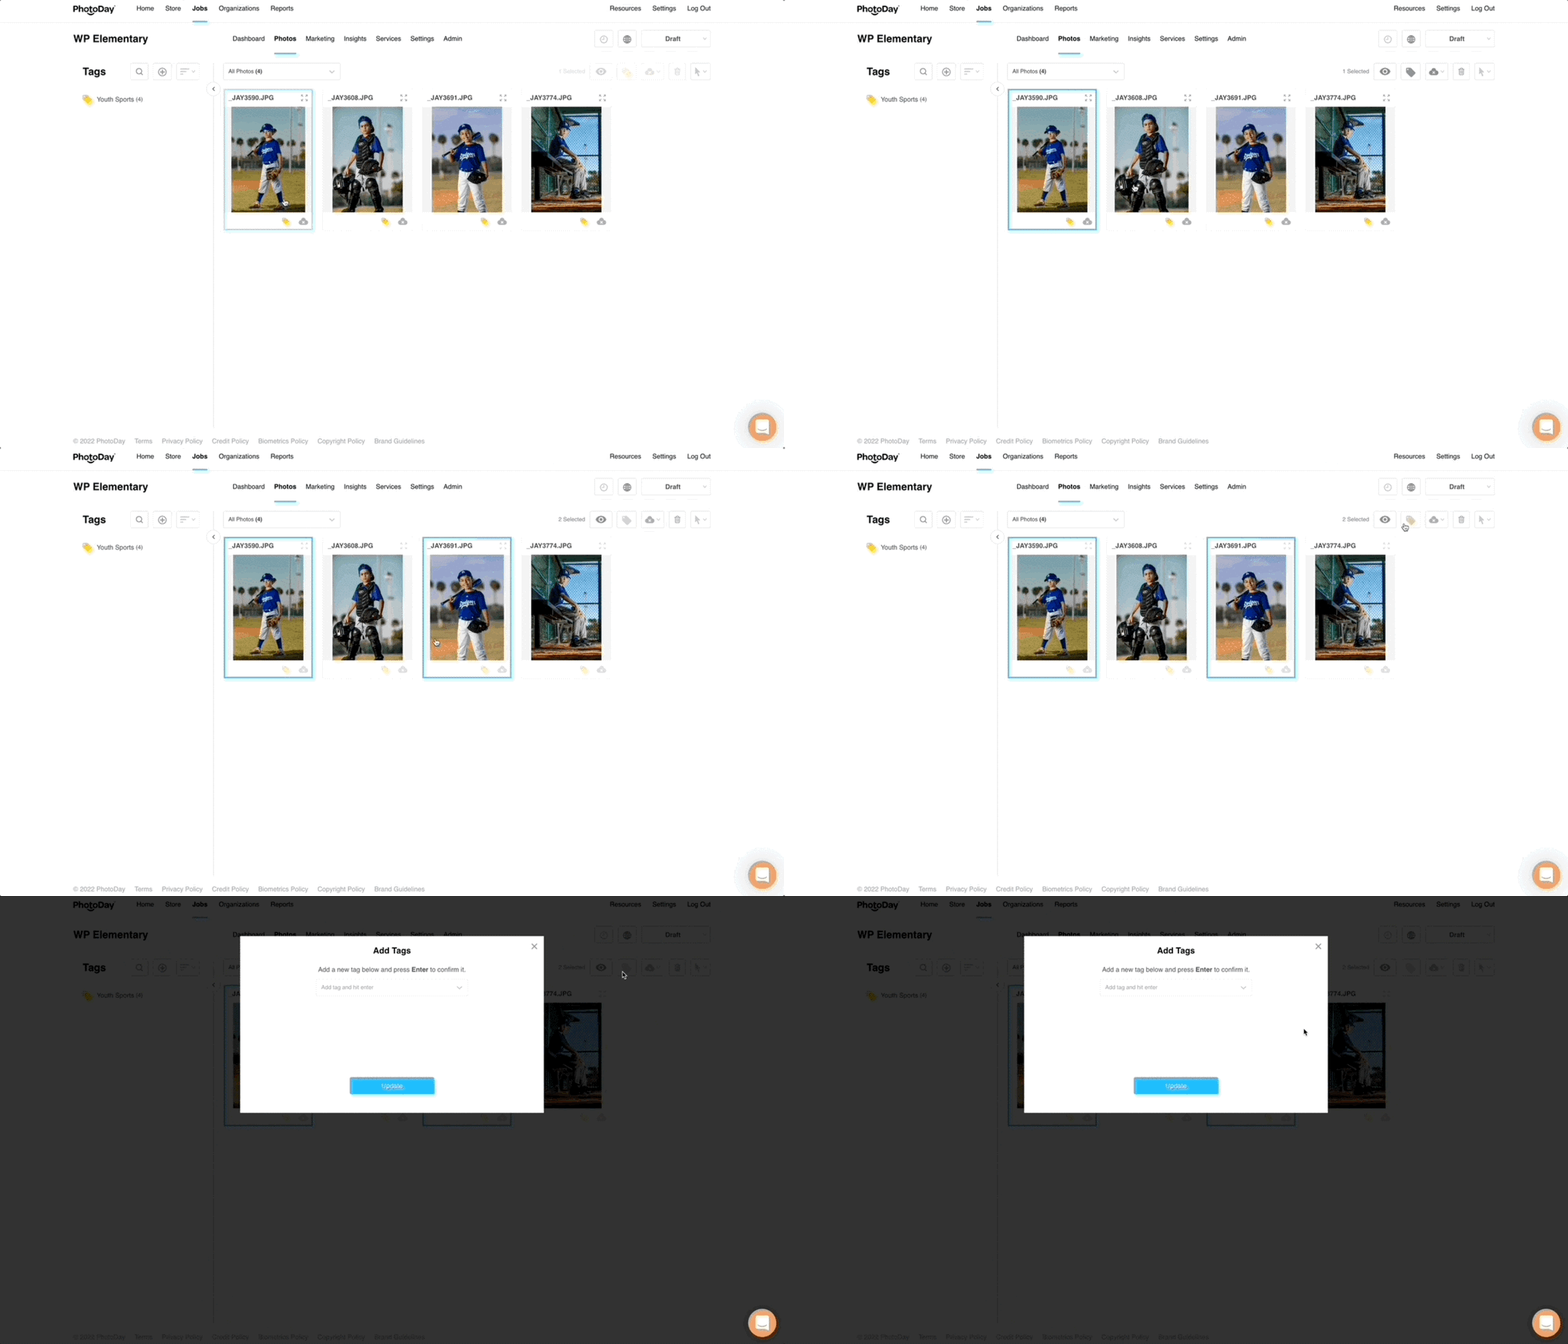
After selecting one or multiple photos, click on the Tag button to open the Manage Tags window. From here, you can add existing tags to a photo, create new ones, or delete existing tags.
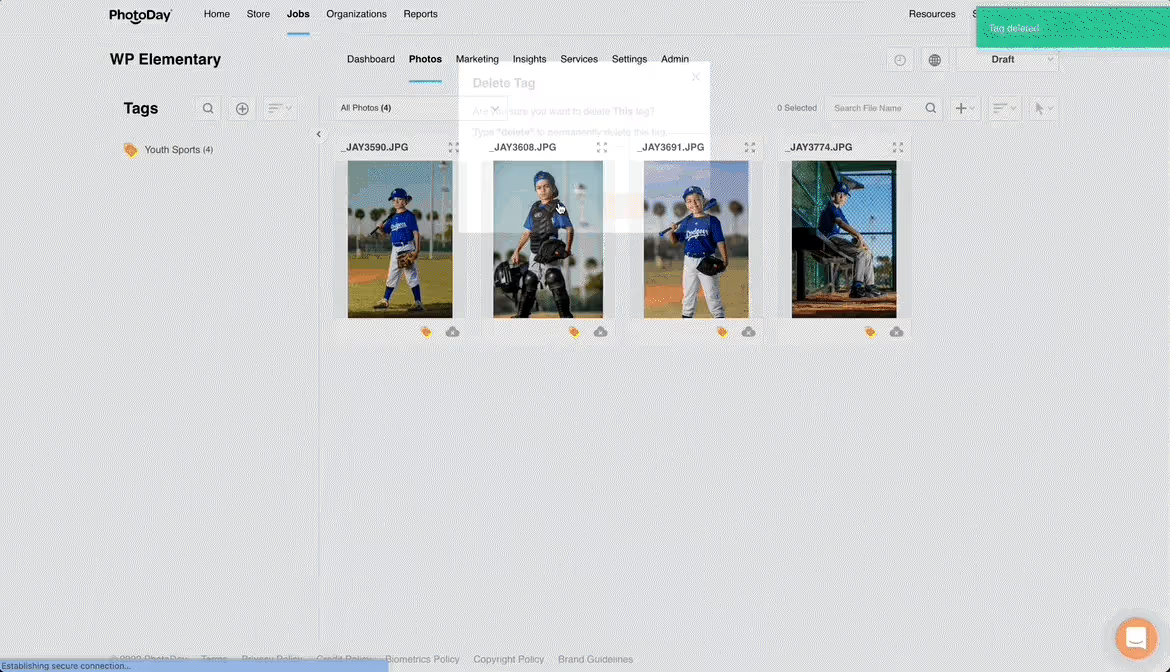
The second tag management method is via the Add Tags icon located in the tags column on the left side of the page. Click the + and type the name of your new tag. If you wish to remove a tag from this column, hover over the tag, and an option to "Delete" will appear next to it.
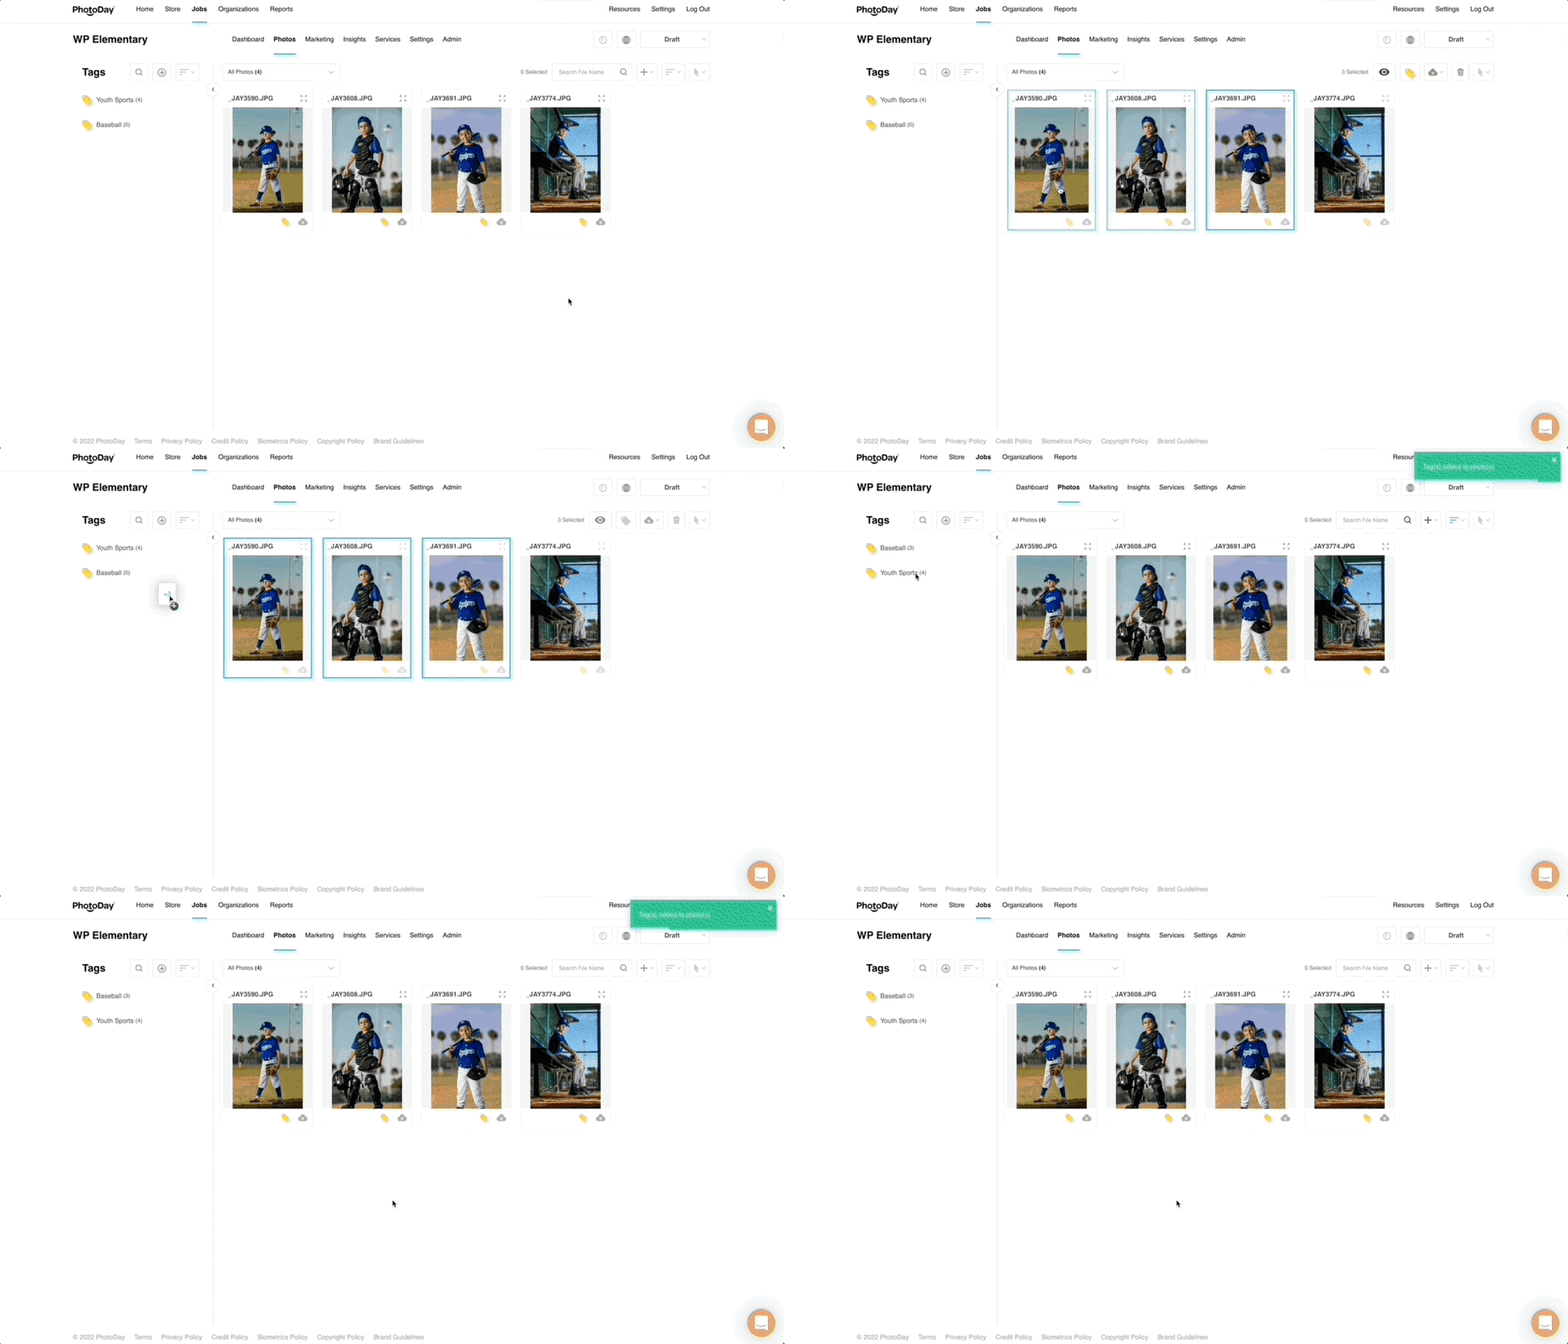
Tags can also be applied to photos by selecting a single photo (or multiple photos using Shift + Mouse Click) and dragging your selection to an existing tag. The tag will then be applied to your selection.
Lastly, you can manage tags for individual photos via the tag icon located below each photo thumbnail in your gallery. Clicking on this icon will display a small tagging tool in place of the thumbnail, where you can modify, add, or delete that photo’s tags.

You can also organize your photos into their final tagging structure before you ever upload a single photo to PhotoDay.
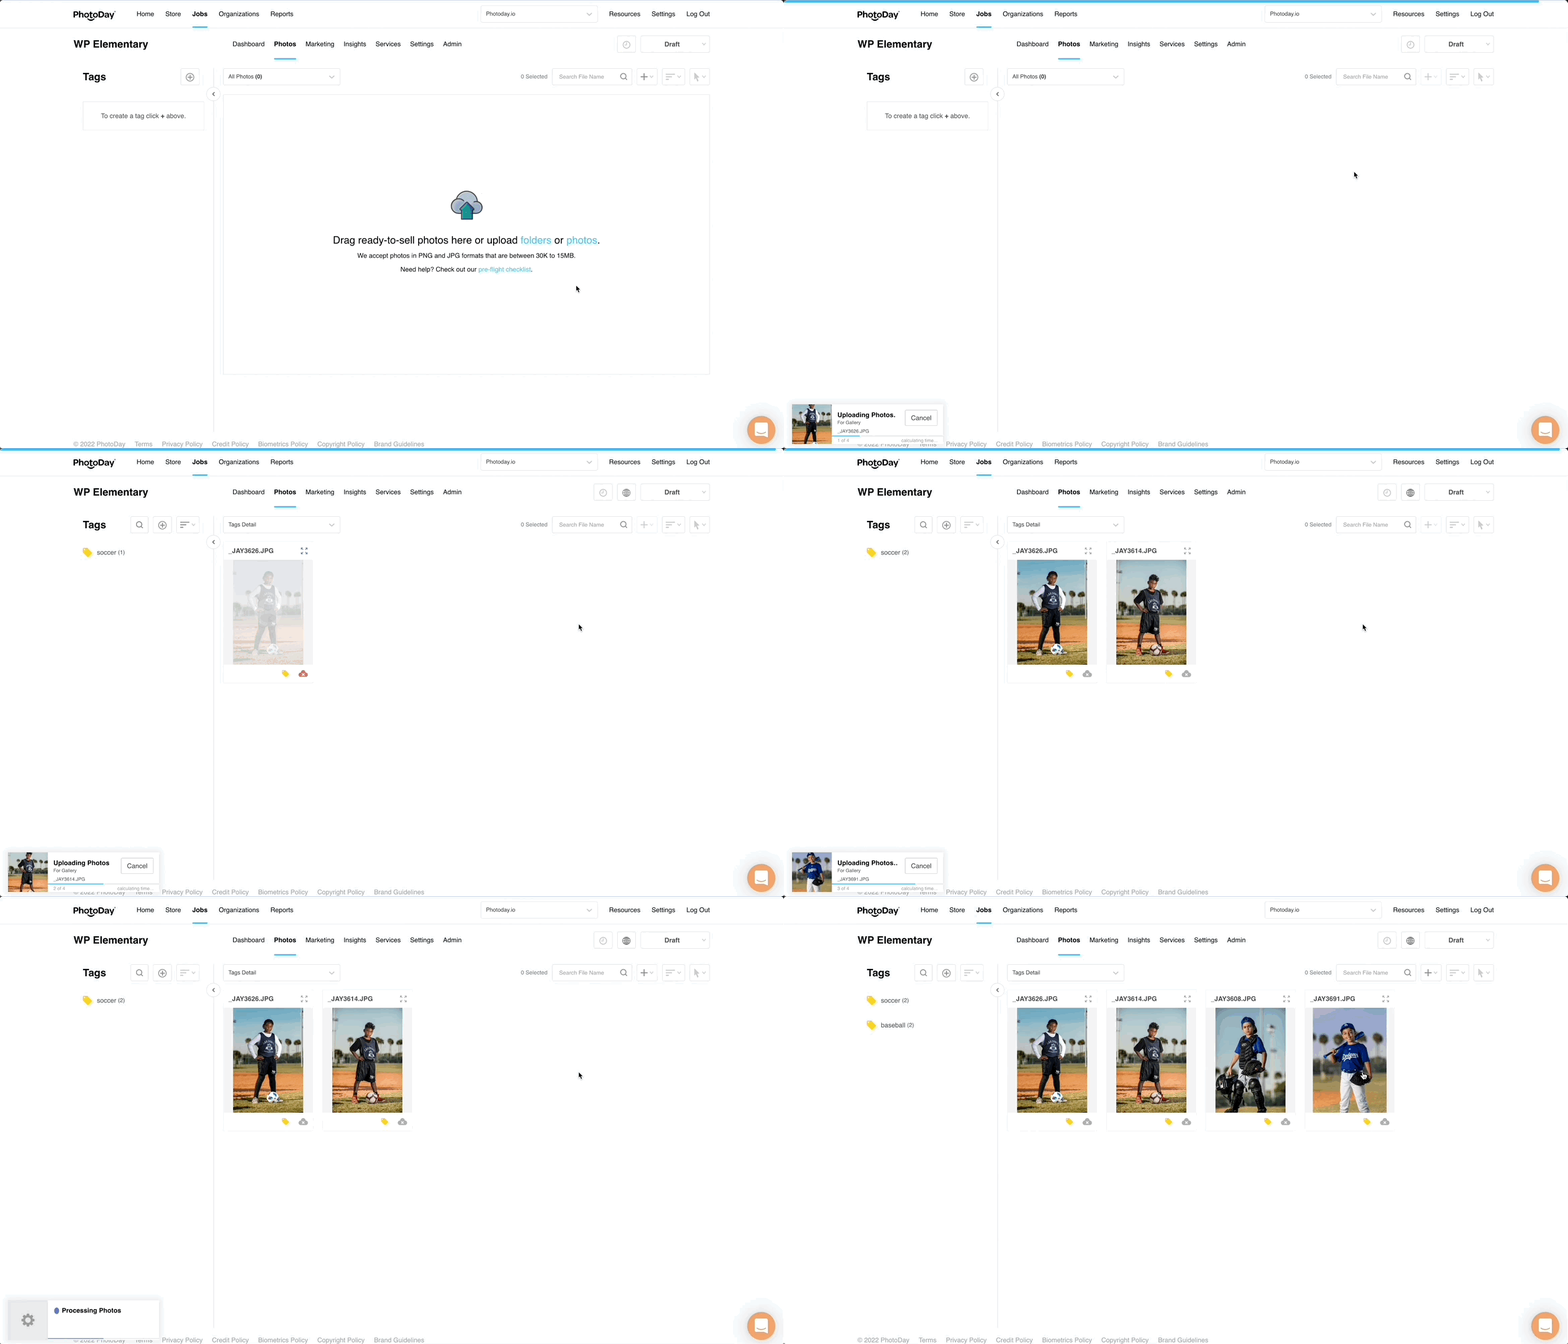
You can structure your gallery’s tags before uploading by organizing your photos into segmented folders on your computer. Then when you upload them to PhotoDay, each folder containing photos will automatically become tags.
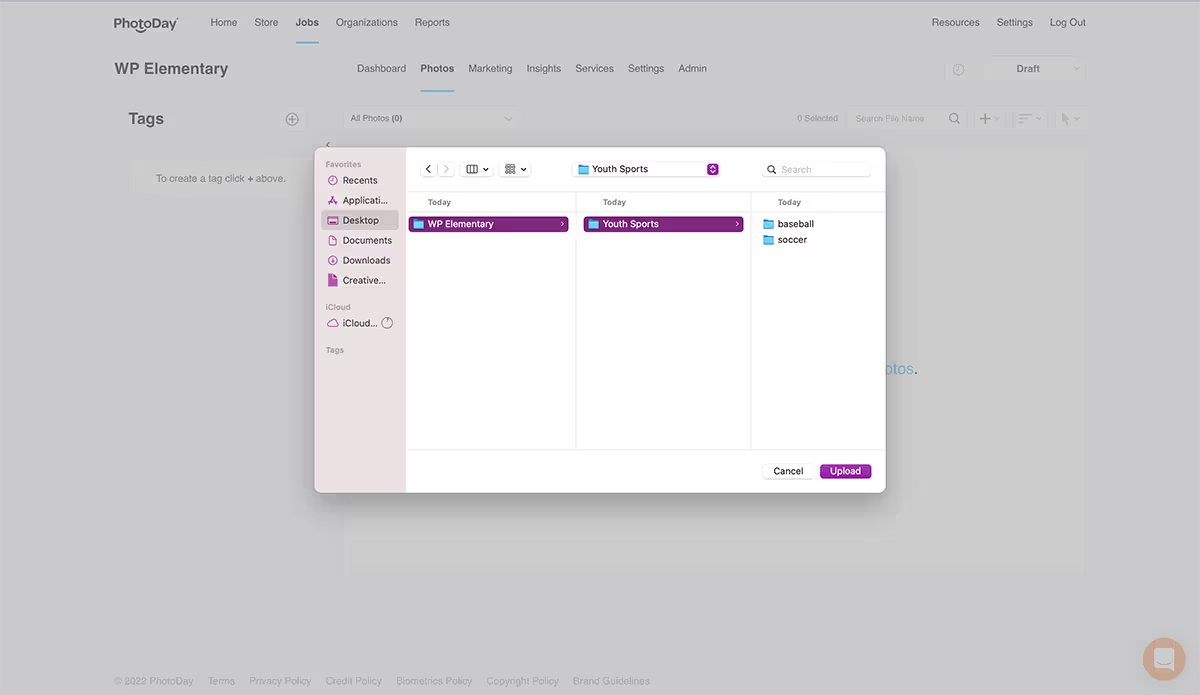
If you organize your photos via folders in this way, be sure to upload the main folder containing the sub-folders.
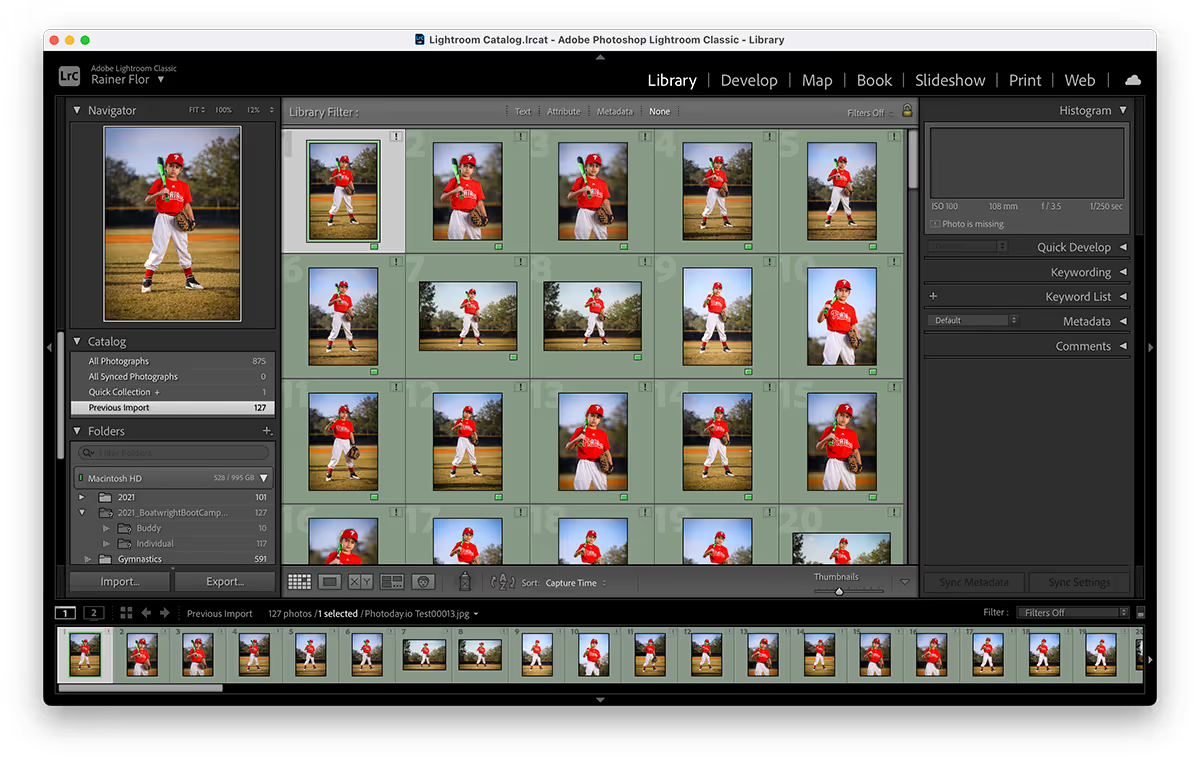
You can also assign keywords to photos in Lightroom, and those keywords will automatically become your tags when you upload the photos to PhotoDay.
Please note: If you use keywords and have placed your photos in folders, PhotoDay will ask you if you want tags to be created from the keywords or folders.
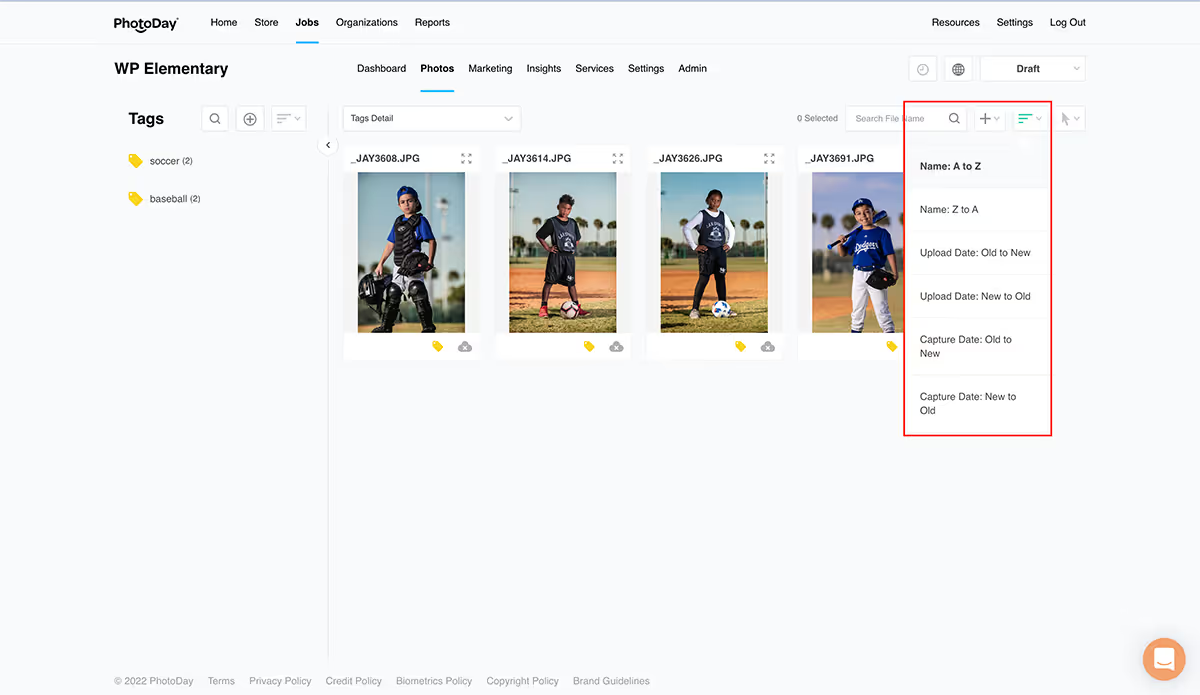
After you have completed your tagging, you can sort the tags to display in any order you wish. To sort, select an option from the drop-down menu...
…or hover your cursor over a tag, and drag it up or down by the sort icon that appears.

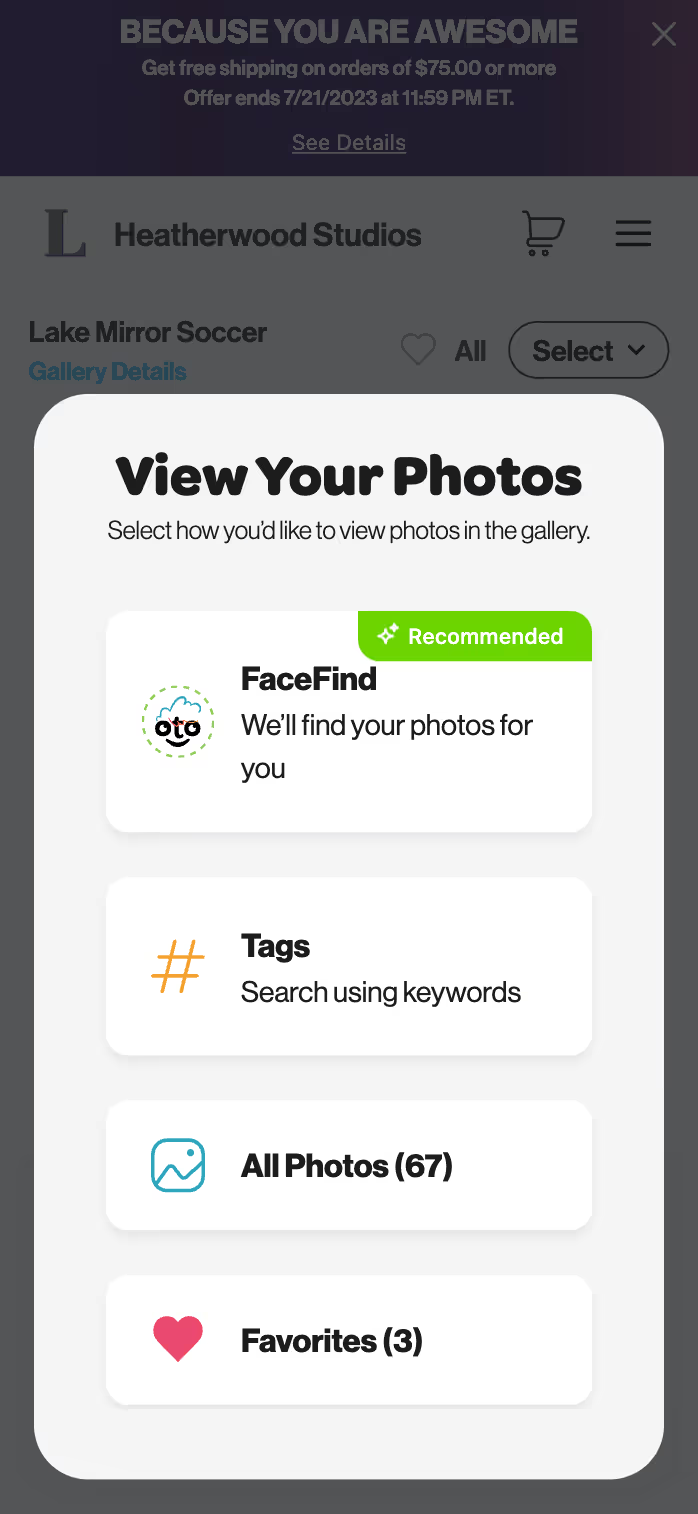
When a customer first enters the gallery, they will see the following window with the gallery search options you chose on the job details page.
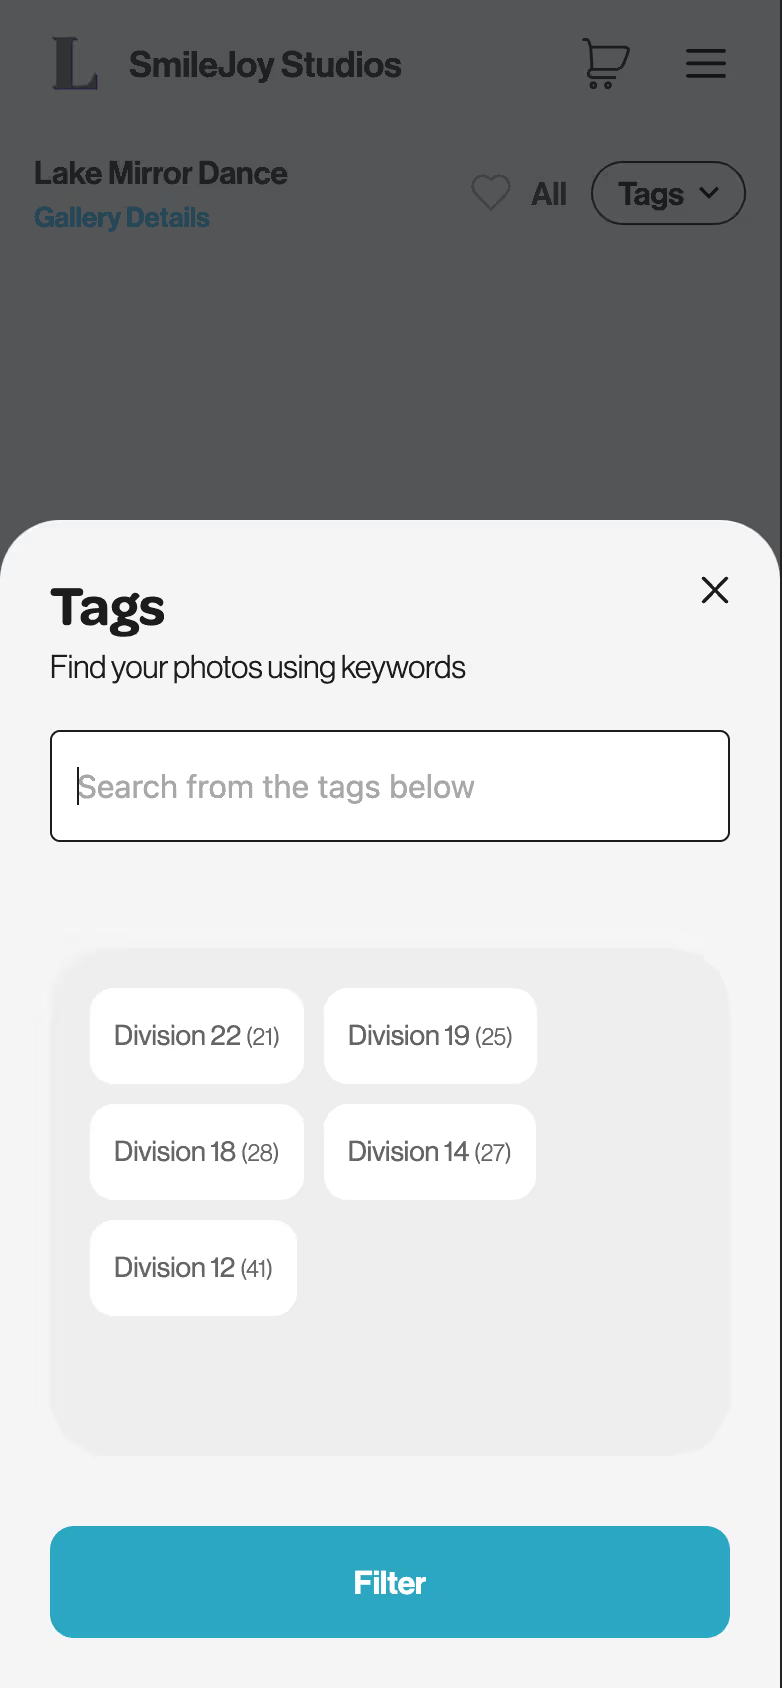
When a customer chooses tags, they will be able to select a tag from the tag selection screen.
Next, let's start promoting your gallery!